Some time ago HPE announced that they would acquire Trilead, a small Swiss based company with 1 actual product being VM Explorer being a backup product for VMware and Hyper-V environments.
In this article I will do a walk-through of the installation and initial configuration and use of the product.
Installation
The software bits can be downloaded from their website https://www.trilead.com/download/.
For my article I used Build 6.1.002 being the first one rebranded with the new HPE colors…
The installation is done on a (virtualized) Windows server…
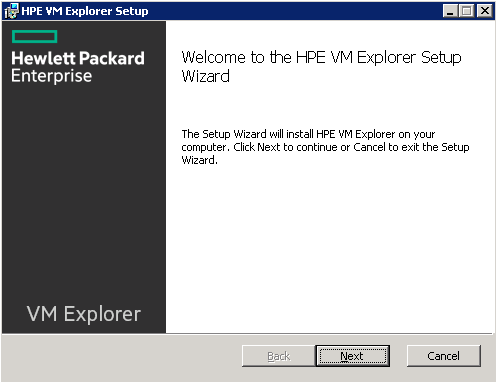
Click Next
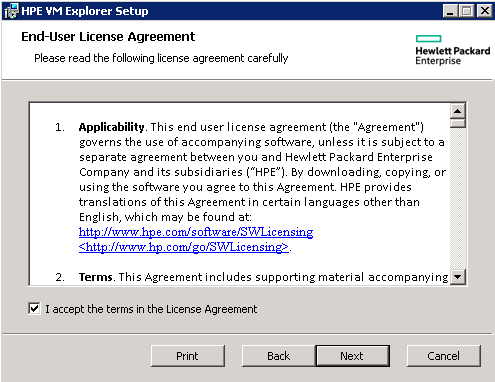
Read the EULA and click Next
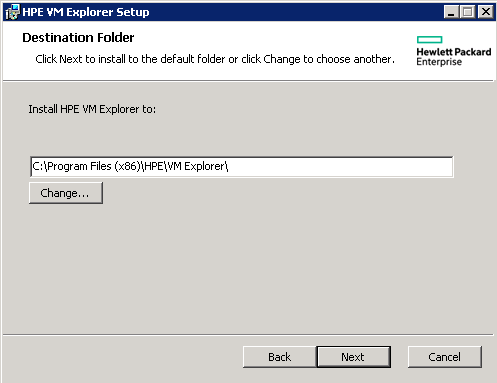
Select the wanted installation directory and click Next
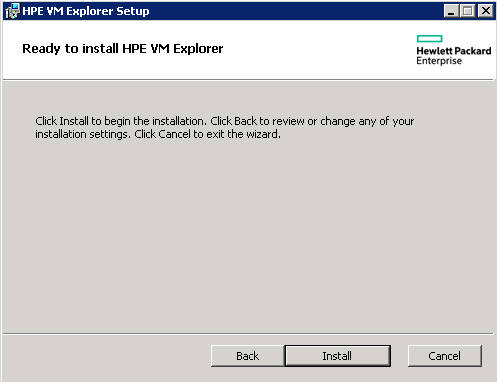
Click Install
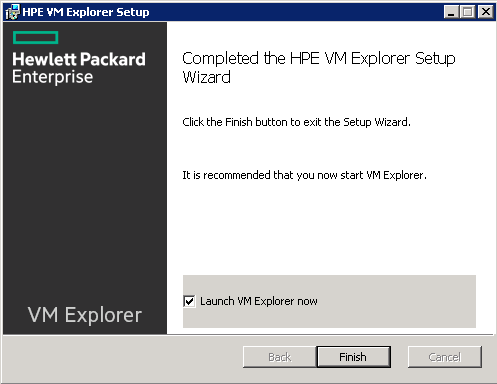
That’s it, click Finish
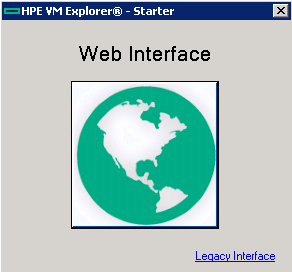
From here you can select (just out of curiosity) the legacy interface from Trilead or select the new HPE interface:
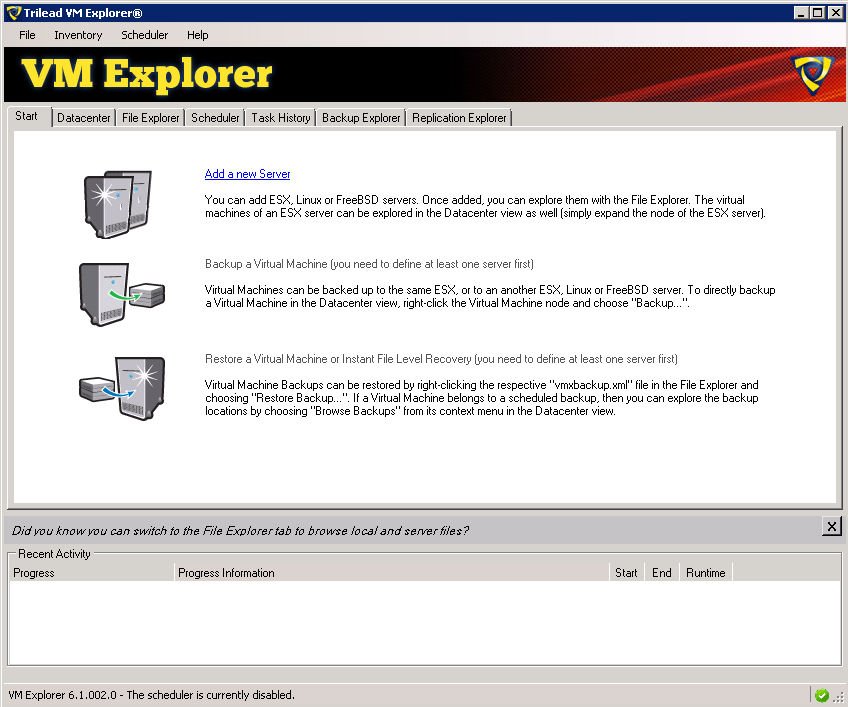
The Trilead application is/was a 32-bit locally installed application versus a web-based application from HPE. First time you launch the tool you will get a Webserver Settings page
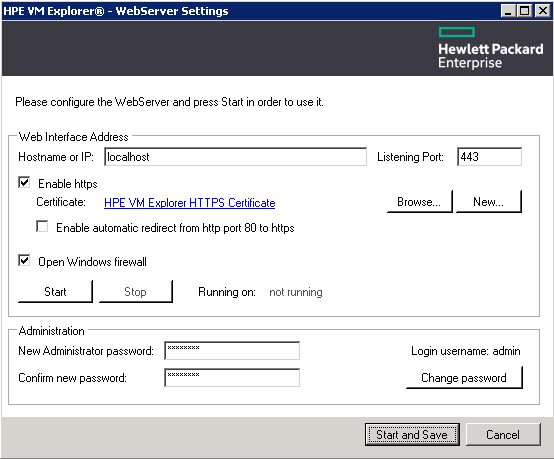
Make changes as needed and click Start and Save. At least enter a password for the default ‘admin’ user account and click Change password.
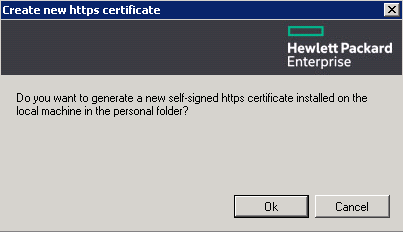
Click OK for the creation of the self-signed certificates.
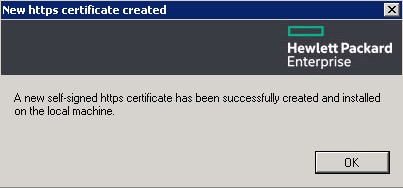
Click OK again.
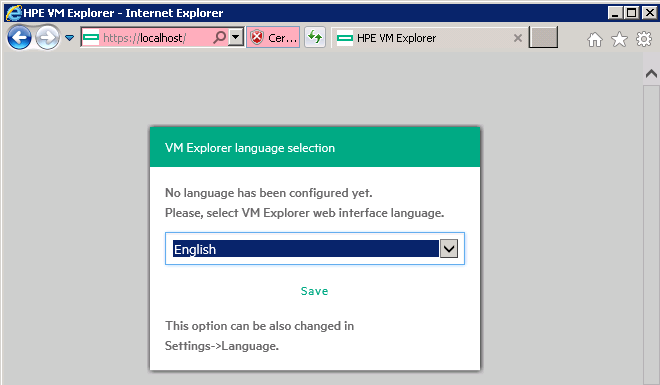
Select your preferred language and click Save.
This ends the installation procedure.
Initial configuration
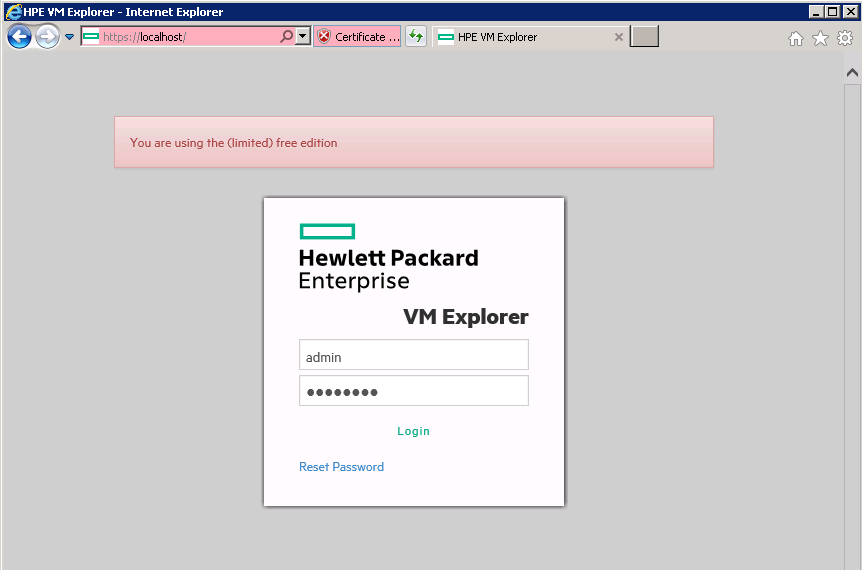
Log in with the default user account ‘admin’ and the password created before.
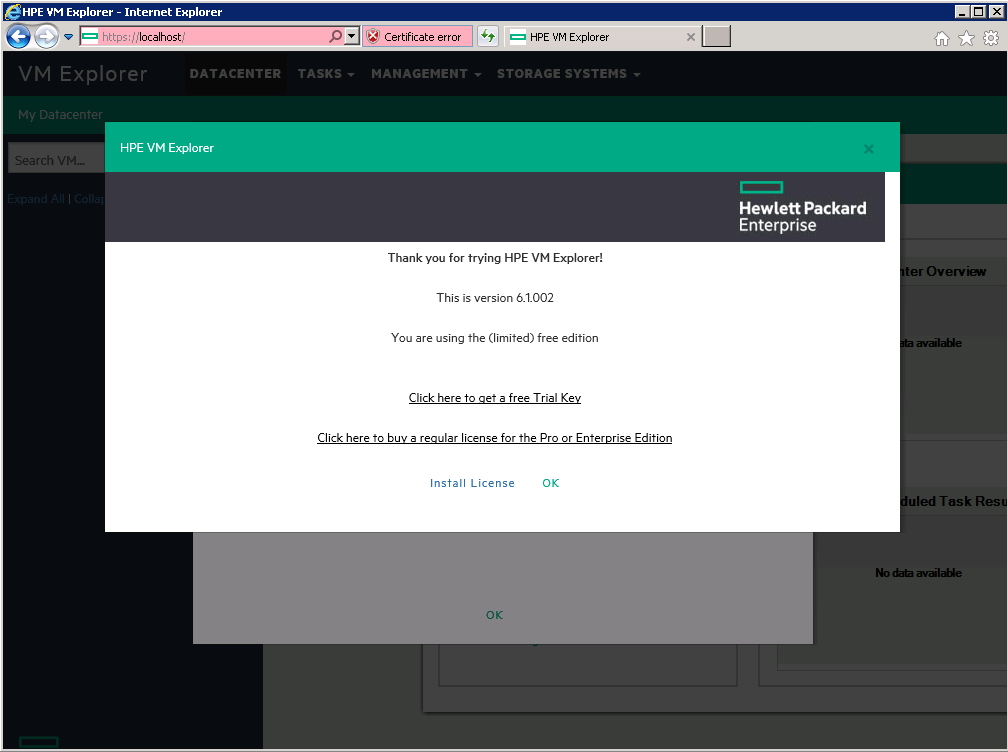
If you acquired a license you can enter it here or go for a trial license…
All differences in licenses (Free – Pro – Enterprise) can be found on the following URL:
https://www.trilead.com/editions/
All the basic stuff on making a backup of VM’s can be done with the free version, cool stuff like incremental backups, tape backup, file level restore, replication, task scheduling, cloud backup and so on requires the Pro version, and it is obvious that for the real enterprise stuff you need the Enterprise license… Check the website for all details.
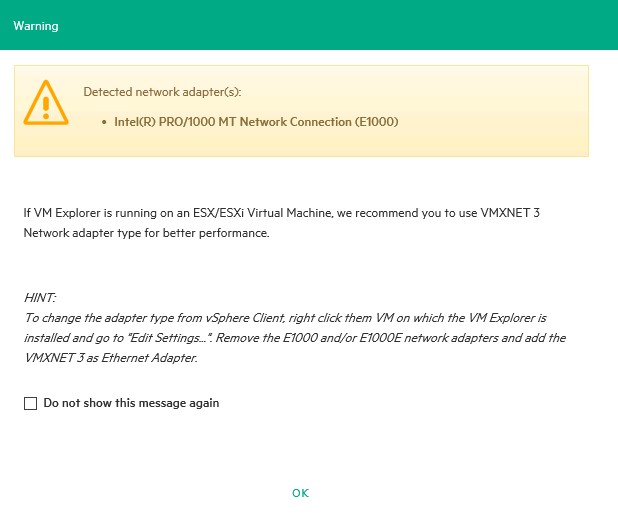
This is a very interesting pop-up. It seems that my VM where I am running VM Explorer needs a VMXNET3 network adapter for better performance.
I did the test with a backup of a VM (see below) and noticed some performance increase but not spectacular… Backup job of 1 VM finished 2 minutes earlier…
After having entered your license you will get into the regular VM Explorer window:
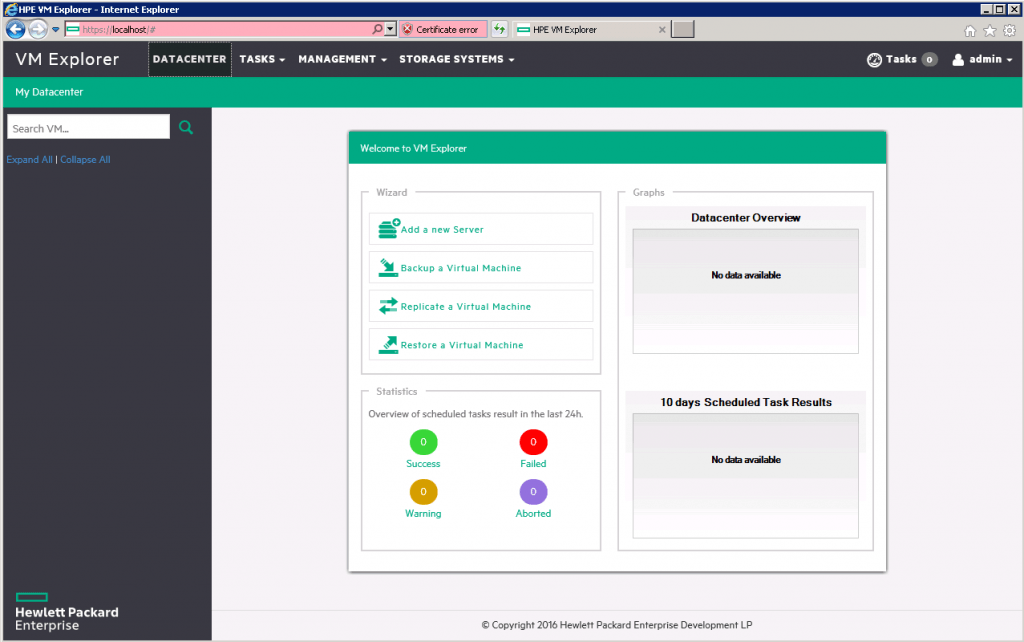
GUI is fairly simple and straightforward. Some wizards are foreseen for adding servers, making backups, setting up replication and restores.
Adding servers for backup
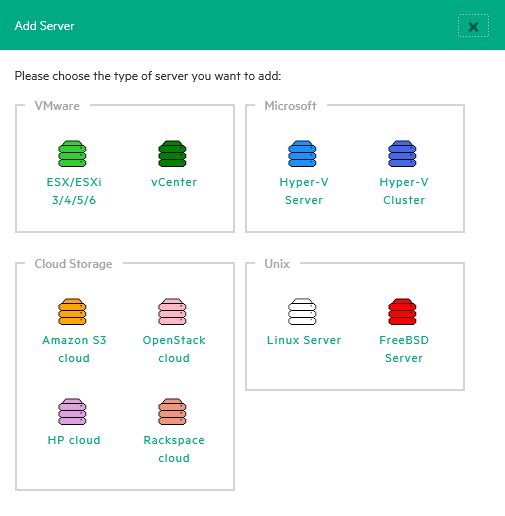
When choosing Add a new server you get the options expexted like VMware and Hyper-V but also Cloud and Linux options are valid options.
For this article I will choose the vCenter option
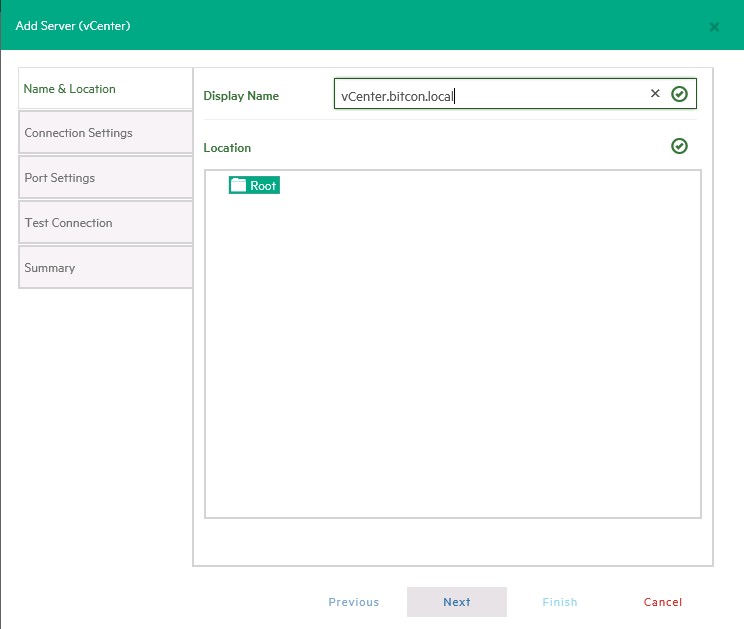
Enter a name for the vcenter server and click Next
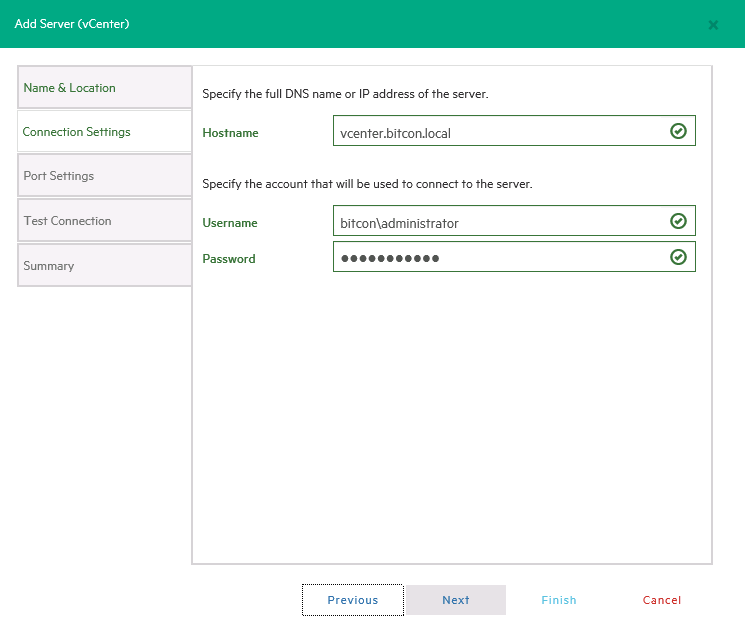
Enter the correct name and credentials and click Next
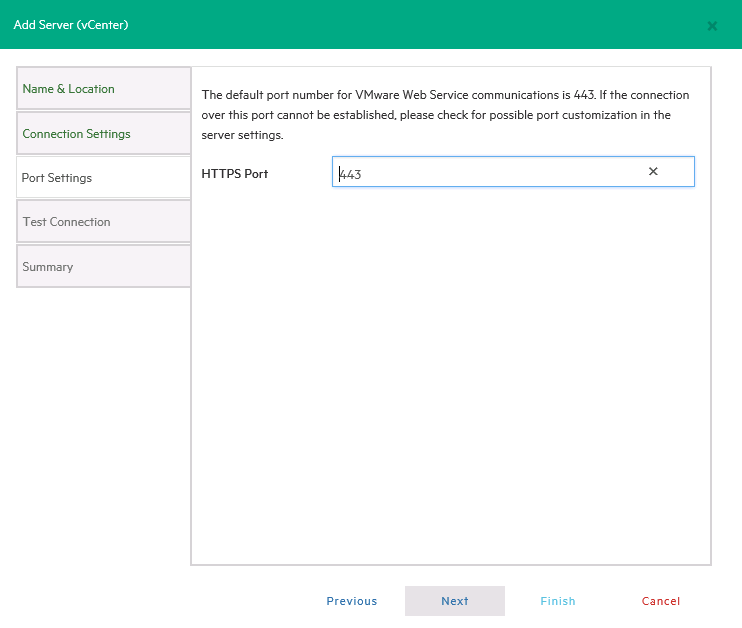
Unless you use another port click Next
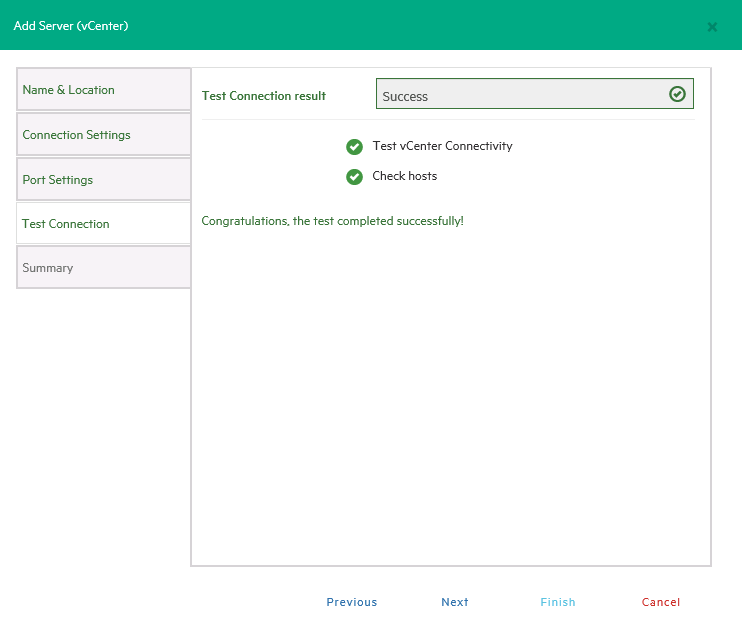
Validate the test results are OK and click Next
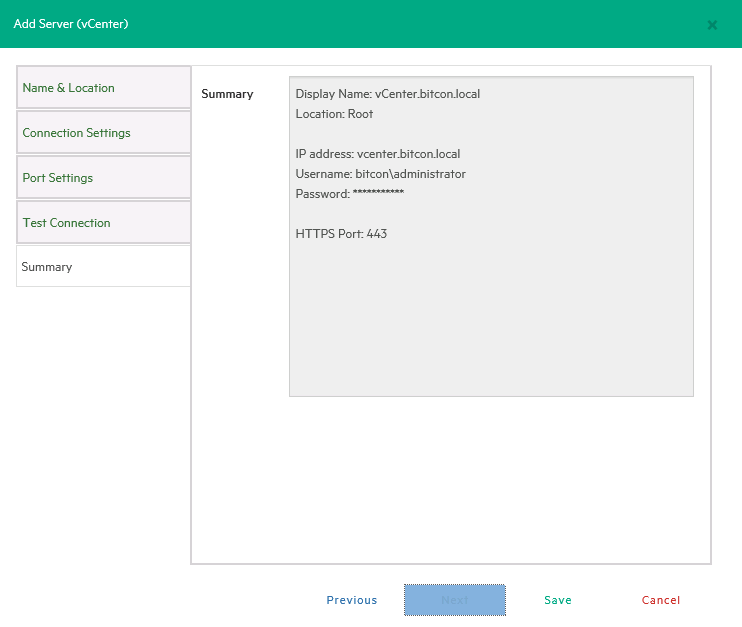
Review the Summary and click Save
Now you see your vCenter appear in your root datacenter view
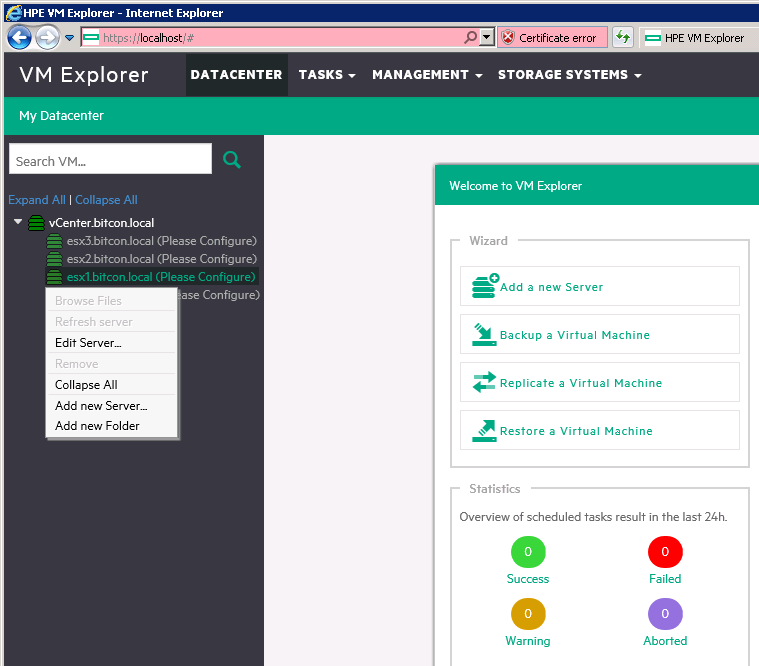
It asks now to configure the ESXi hosts underneath the vCenter server. Just right click and select Edit Server
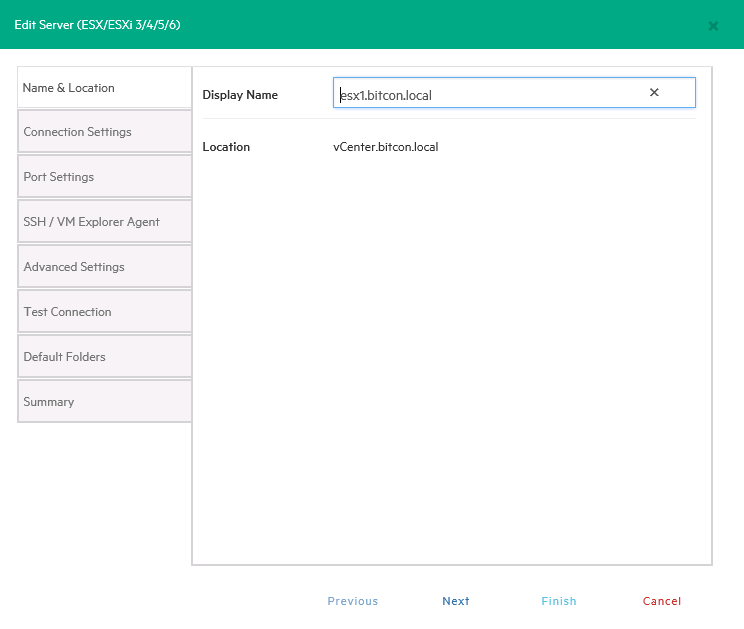
Click Next
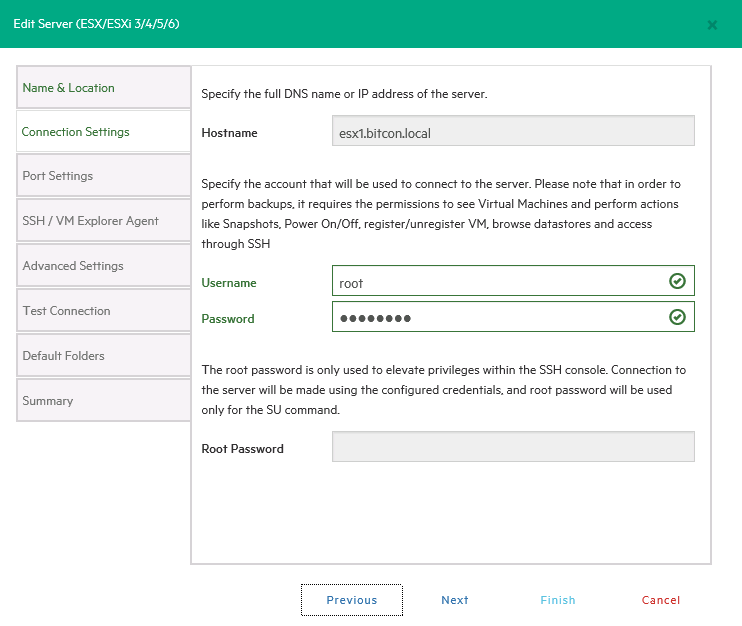
Enter the right credentials and click Next
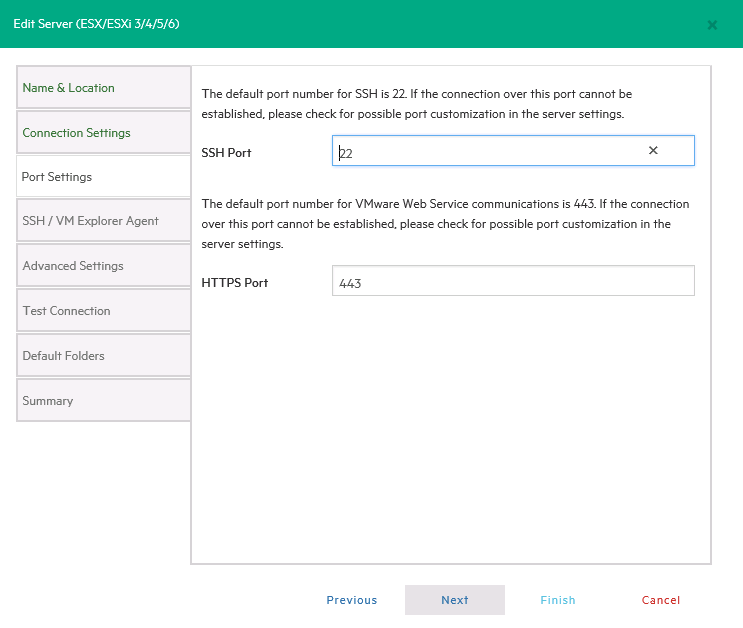
Validate the ports and click Next
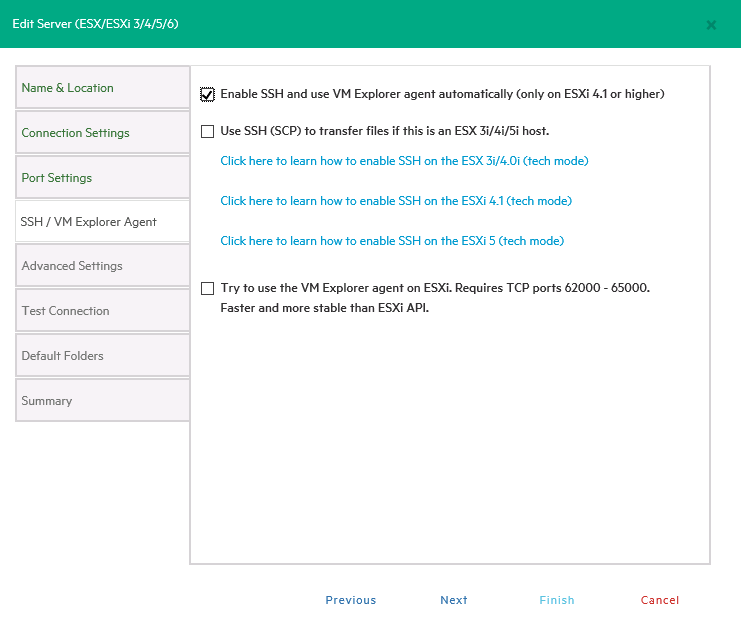
Validate the options and click Next
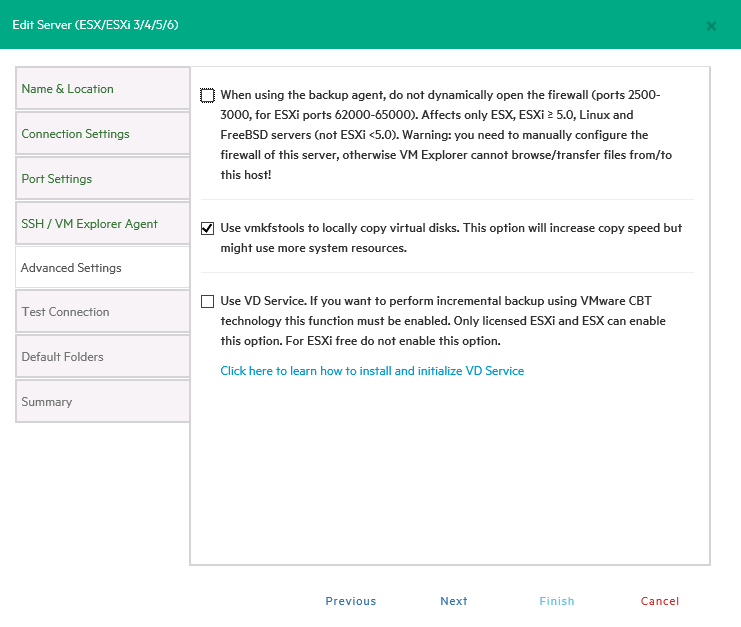
Validate the options and click Next
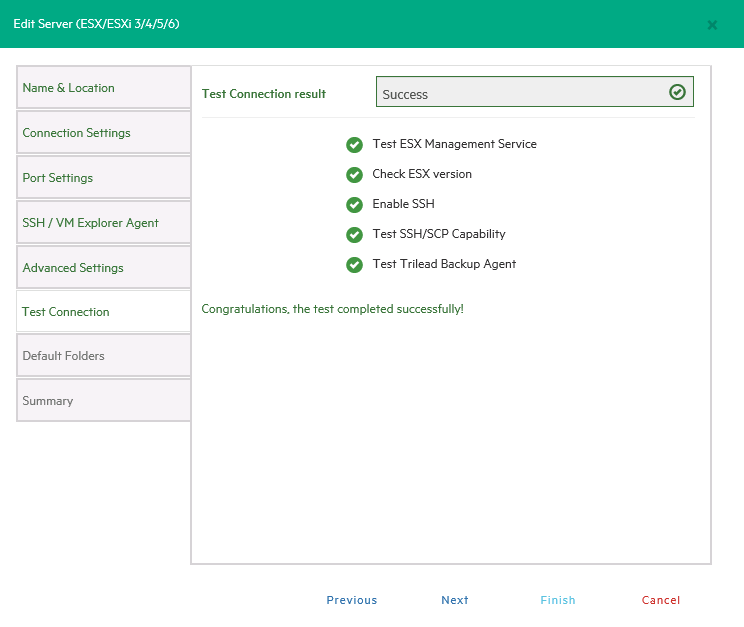
Verify that all tests complete successfully and click Next
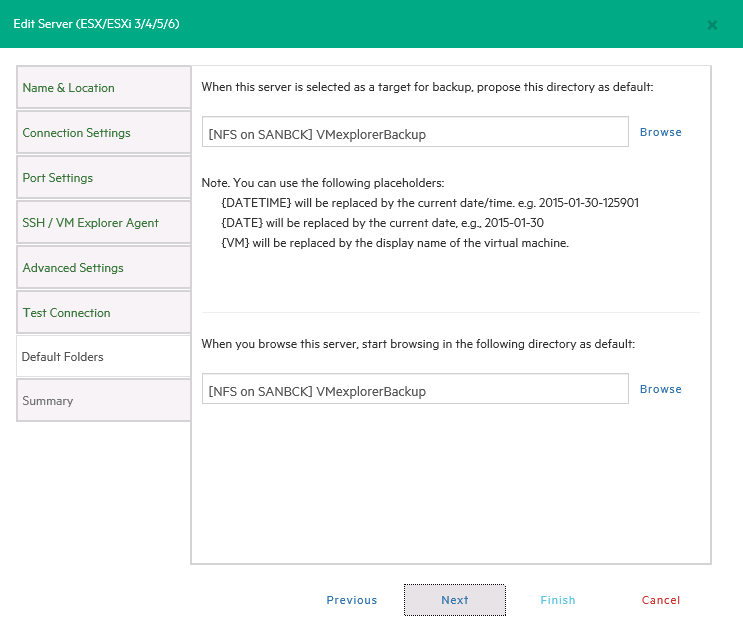
Select the appropriate directories as a backup target and click Next
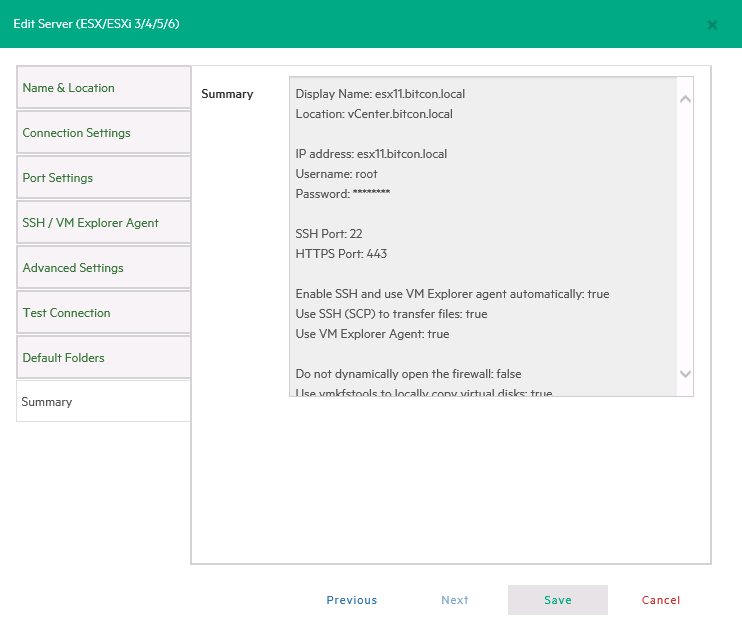
Review the Summary and click Save
Do this for all ESXi servers you want to protect.
Backup a VM
Next let’s make a backup of a VM. Run the Backup a virtual machine Wizard
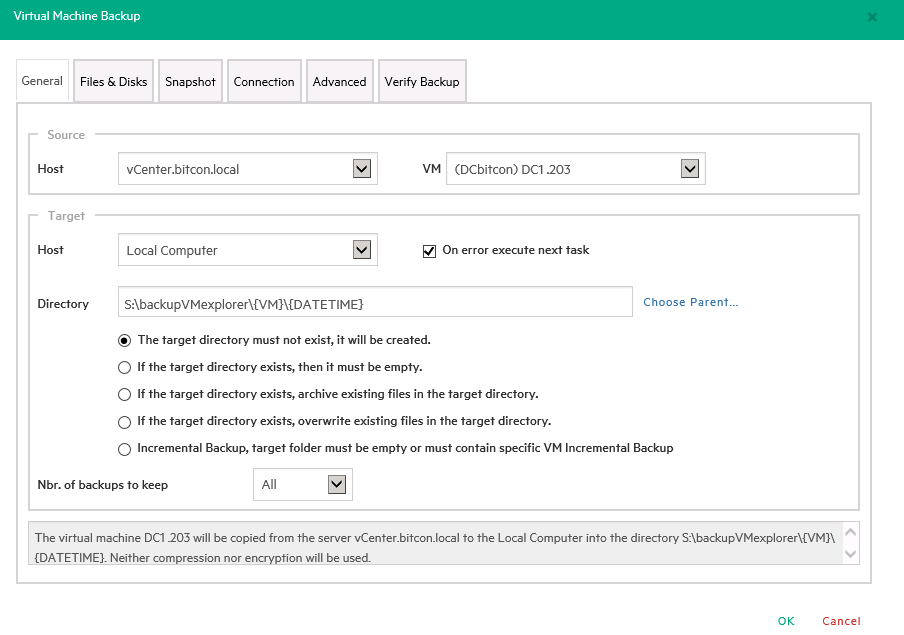
Fill in the appropriate fields like Host, VM and destination directories. The other tabs give you more options like Source file & disk selection, VSS integration and backup verification…
Click OK
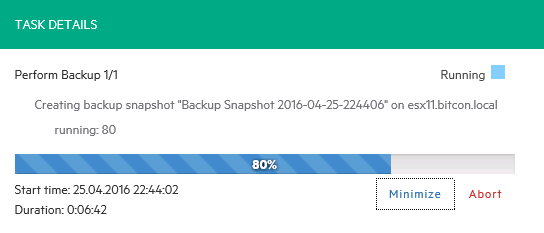
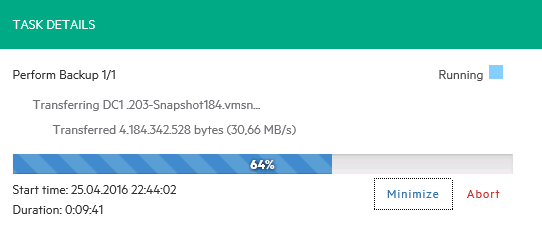
At the top right you can see that a task is running. By clicking Tasks and Details you can follow the progress of the backup task.
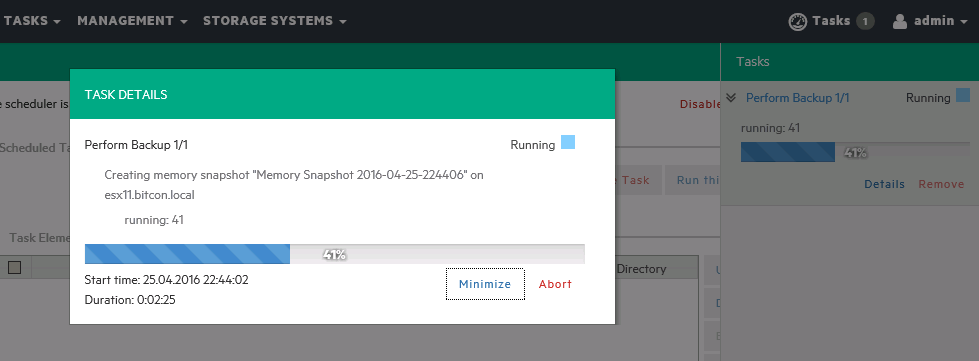
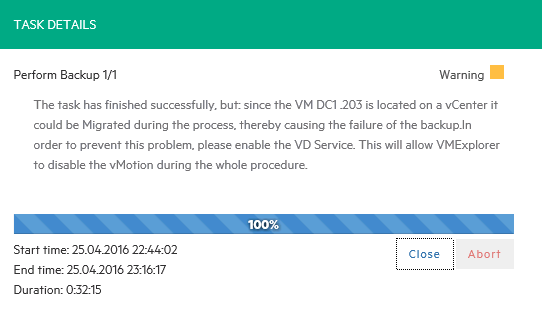
The backup job finishes successfully as expected.
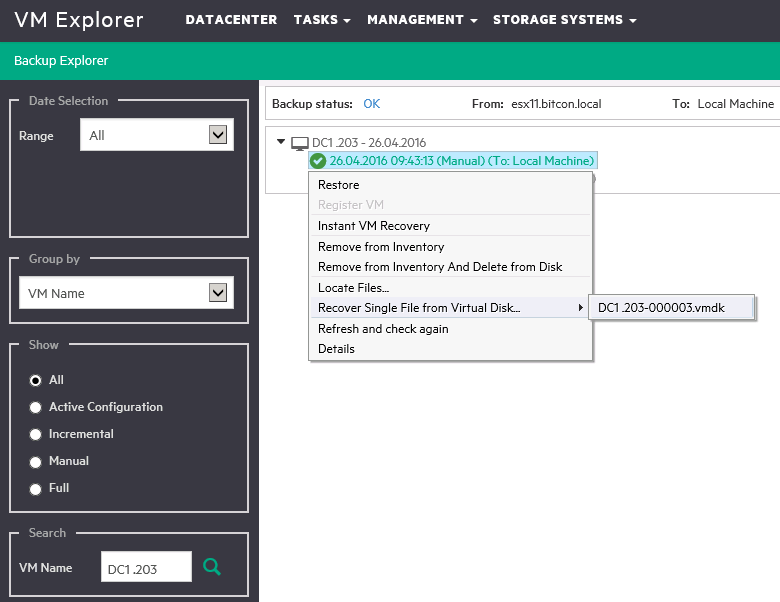
Afterwards I get the option to do restore of the VM or files of the VM…
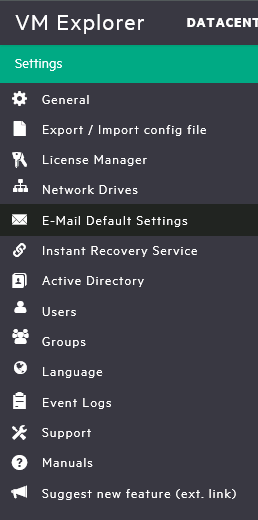
The Settings screen gives you several options like Email alerting, adding network drives and AD integration…
I hope this gives you a good overview of the installation and usage of the new HPE VM Explorer tool…
Installation is easy, usability rather high with some nice features…
Some features on my wish list at this moment are storage integration with HPE 3PAR and HPE StoreVirtual. But I assume this is just a matter of time?
There are some great video’s available on the Trilead website, check them out when you want to know everything about this product: https://www.trilead.com/videotutorials/
Be social and share!
